Saturday, January 9, 2021

Fender Repair

HOLY FENDER!

 
Fender removed for repair.


Holiness removed.
New fender section being shaped for fit. Needs some more bend.
Sized and shaped section clamped to welding table for flush fit and welded from back side.
Now with fender securely mounted on the car, the repair section is welded from front to fill in the small seam and allows it to be ground smooth so less filler is needed before painting.
 
Suck, that was a lot of grinding! But the panel is pretty smooth. Also note, the bend at the front wheel well opening, that was hammered in once the welding was solid and then welded and ground smooth. the bottom flange just needs to be drilled and secured with bolts so the whole fender is easily removable.


Wednesday, January 6, 2021

Dogleg Panel Installation

Dogleg panel prepped and ready to go on.

Tack welded in place.

The trailing edge is straightened since the panel did not fit with the rounded end, I just pounded it flat on an anvil.

The wheel well was reinforced to withstand pounding the trailing edge around to fit the contour.

After finishing all the welding, the welds are ground smooth. Job done. It took a couple of hours to fit the dogleg panel to the car, but the attention to detail was worth it as it made butt welding the panel very easy since there were no gaps.


Floor Repair

I was able to cut out the two large rust holes in the floor pan on the passenger side.
I traced out and cut two patches.
With welding magnets holding both patches in place I was able to weld the bottom patch in.
Finally I was able to weld in the top patch and fill in the cut marks. The floor is is in pretty solid shape  now.

Friday, January 1, 2021

Splash Panel and Upper Bracket Installation

The splash panel upper bracket looked like Swiss cheese, now it it is removed.
 
And now it looks like this, all better.

By bolting on the splash panel proper alignment of the upper bracket was made easy.

The nuts needed to be welded in place to hold the lower part of the panel. The originals were rusted beyond reuse-ability.


Outer Sill Panel Installation

The aft end of the outer sill clamped for welding.

To get the sill lined up at the bottom and with the door, it need to be jacked up.

Sill tacked in place.

The outer sill panel did not wan to fit the car properly, so by separating the the forward curved section of the panel allowed the rest of it to bend into position. The forward part is not visible with the fender attached so alignment is less critical.

Forward sill ready to be tacked in place.

Strangely, the forward section lines up almost perfectly when installed separately. Cutting the panel removed about 1/16 inch from the length allowing proper fit.  


Insane from the Membrane, Sill Membrane Install that is.


Membrane all welded up.

Welds ground smooth so that the outer sill panel will fit flush.


Castle Rail Install

After punching tack weld holes in the castle rail, it is primed with welding primer and is ready to go. 


Aft castle rail fit in place.

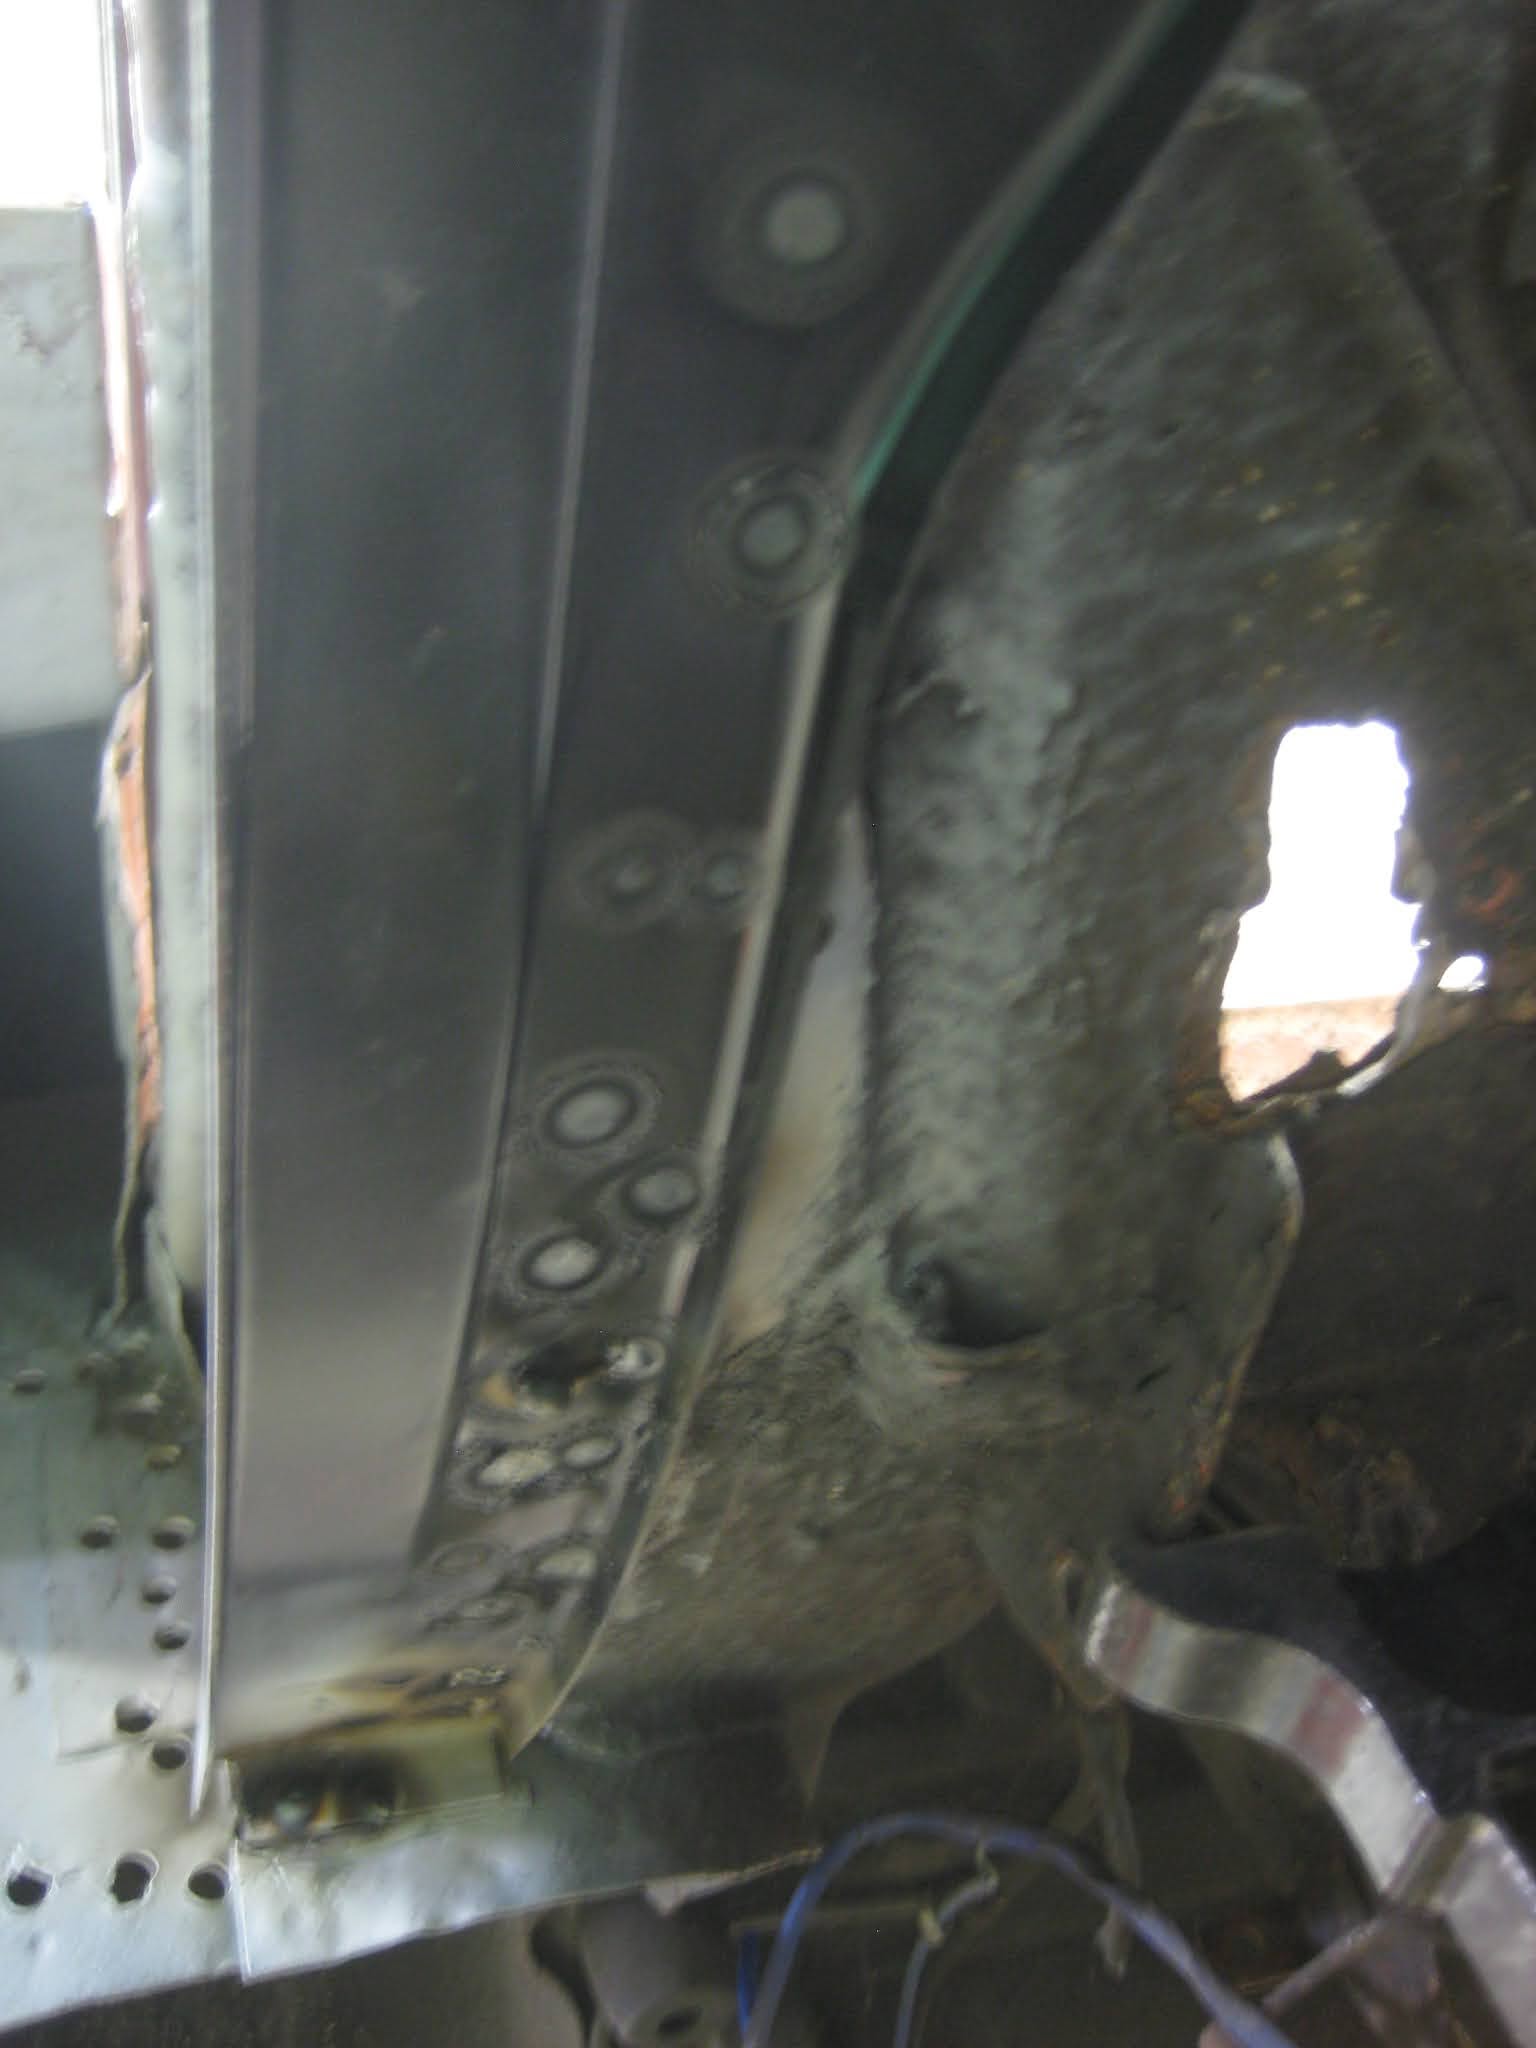
Aft castle rail from below with welds from above showing through. Yes, that is a large hole in the floor. I felt that it should wait until the rest of the car is solid again before cutting into that problem. 


The forward part of the castle rail in position under the inner rail previously installed.