Sunday, August 23, 2020

Distributor Clean Up

 This thing is a mess, the vacuum advance adjuster won't turn and the assembly is corroded.  

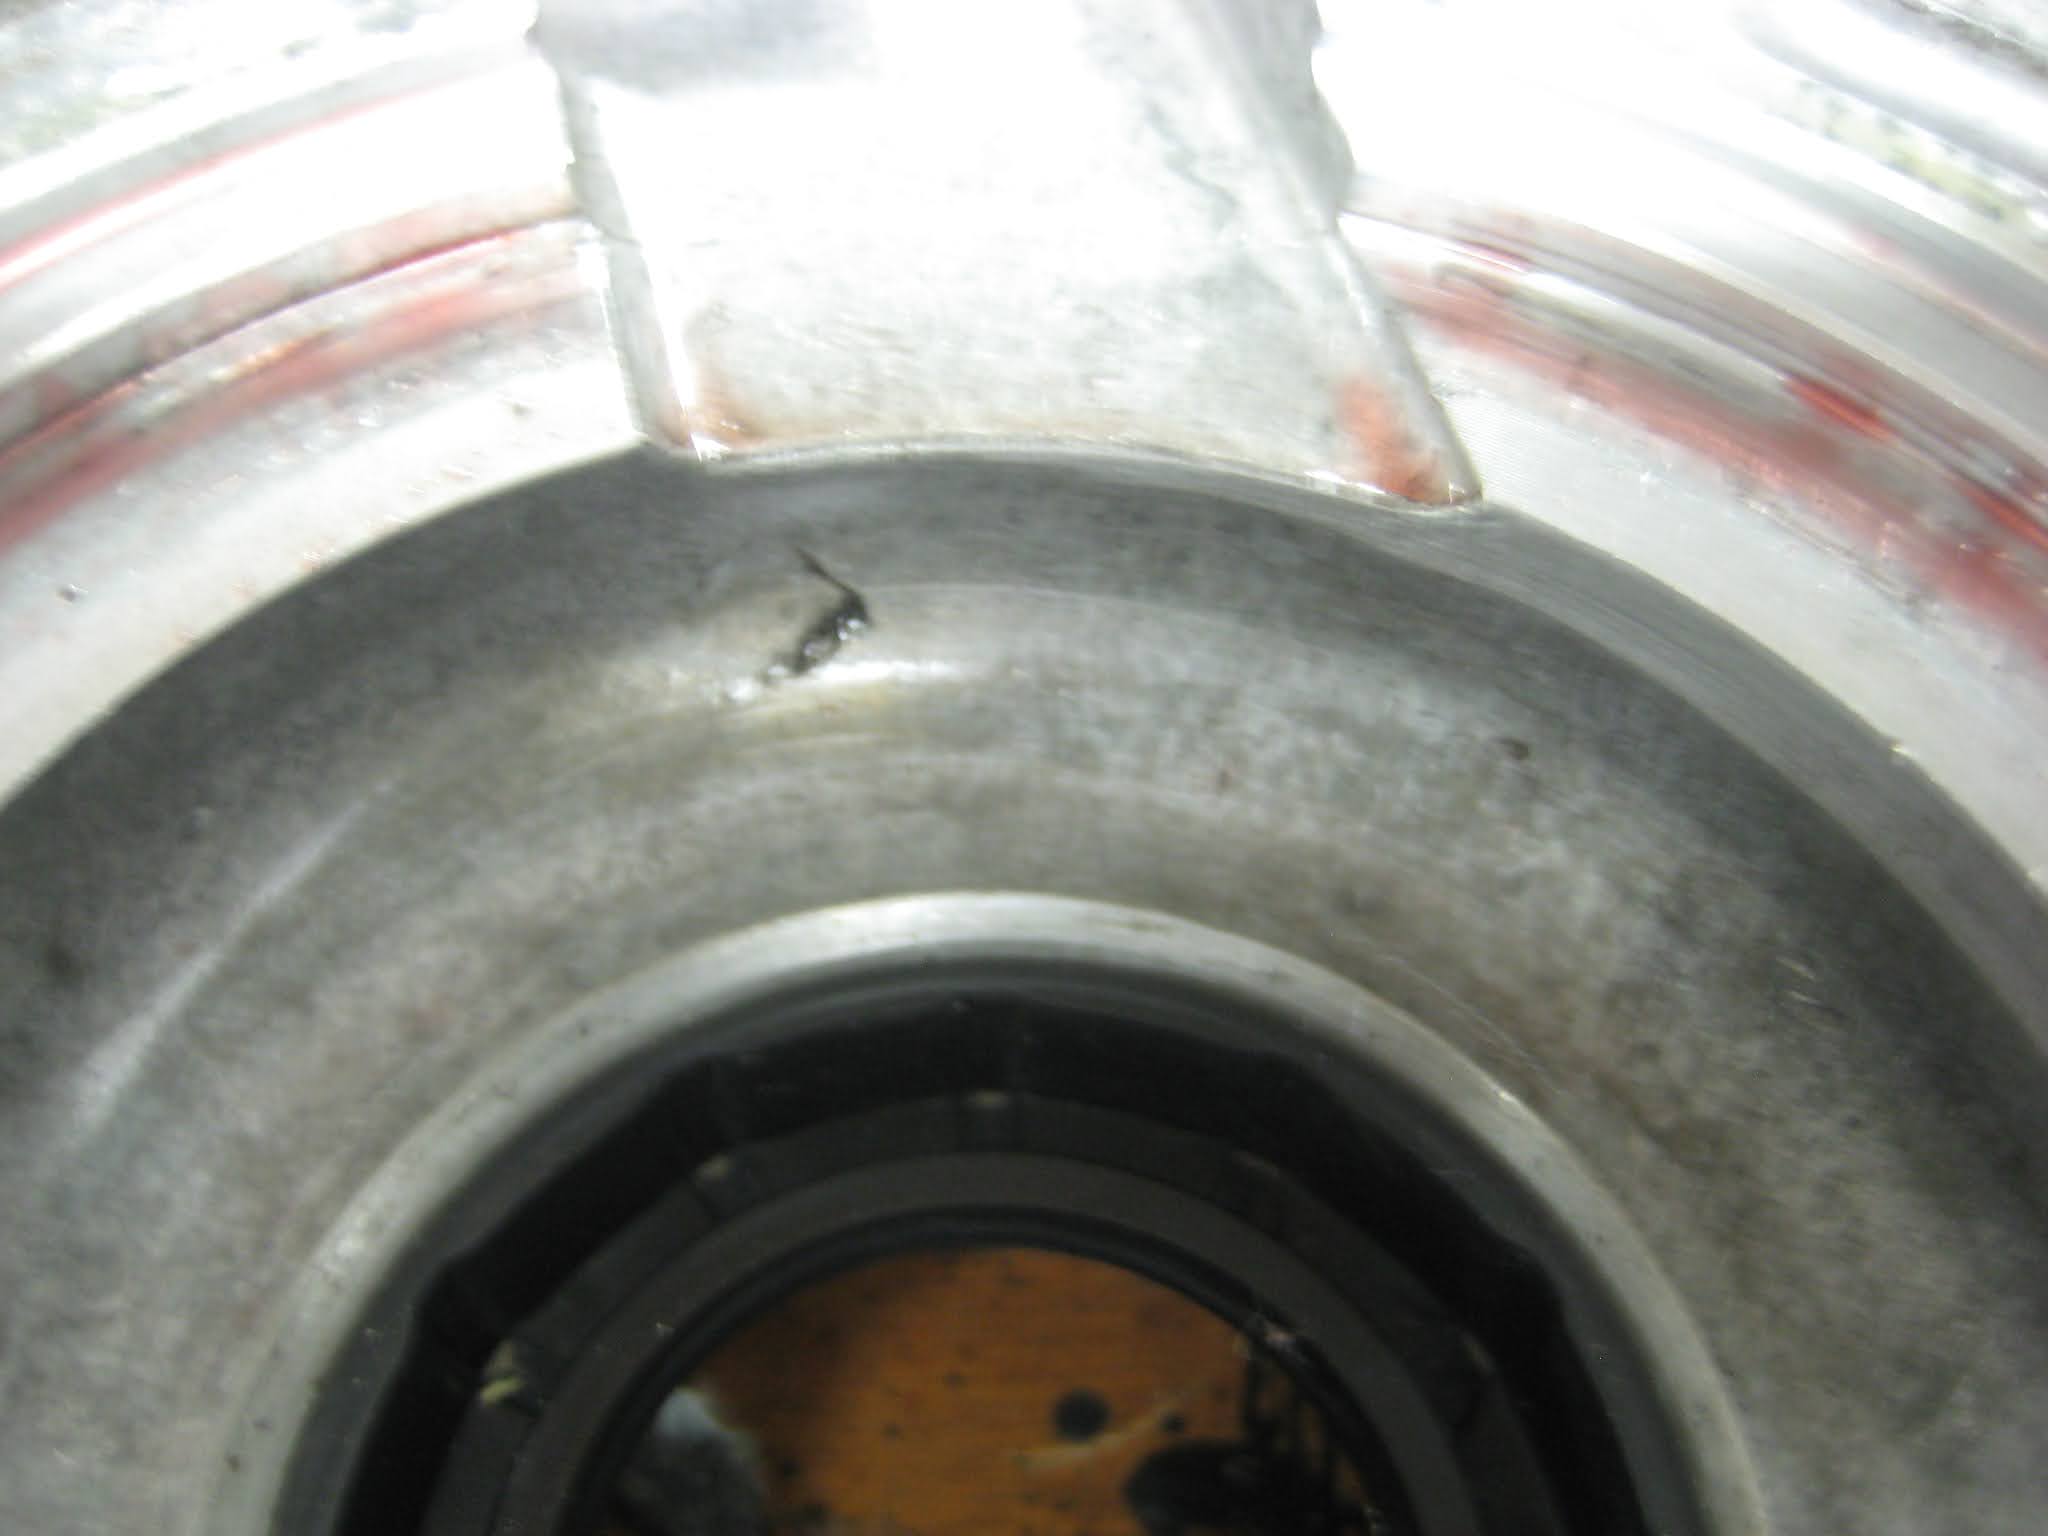
Inside it's not so bad, just some varnishing of old oil.  


Haynes says this number was originally on a high compression engine, if you can call 8.8:1 high compression. 

 
The wire wheel cleaned up the vacuum advance nicely, now to apply some clear coat to keep it looking this way.  Also I was able to straighten the threaded part of the vacuum advance.

Upon reassembly I found the contact breaker baseplate had some wear on the sides of the slot for the top plate to rotate in. A smidge of filing and a few second with the wire wheel, and everything rotates smoothly again. Time to put it together, for real this time. 
 

All done. And look, you can see that it is a Lucas part again. Is that a good thing? 


     That's all for the distributor. This should make everything run better, and also make the ignition easier to fine tune with the thumb wheel.


Saturday, August 22, 2020

Transmission Mount Bushing


This task may seem a bit unworthy of its own post, but it was difficult to find this trick on the interwebs. I saw mention of the string method but with no pictures. What we are looking at is the MGB rear transmission mount, or butterfly. The old bushings swelled up with leaking oil and needed to be replaced. It's a tight fit, I tried pressing them in and it didn't work. So here is the string method. Put your string or cord through the mount then tie it to the new bushing waist.
 
Clamp the mount in a soft vice so you don't mess up your fresh paint. Then start pulling on the cord. I forgot to mention, lube the bushing up with petroleum jelly or rubber grease first. Get one side through the hole, then pull with one hand push on the other side with a screwdriver.

Eventually the bushing will pop through the hole. It is not easy, but it does work.


There you go, now you have to get the string out of the way, I used a fish hook shaped pick to pull the knot out. 

Repeat on the other half of the mount, add the bolt, and you are done with that simple, yet horrible task. I hear making all the holes on the transmission, mount and cross member line up is almost as fun, can't wait. 

Sunday, August 16, 2020

Transmission Part III


The time has come to finish putting the transmission together. I have all the new parts I need, the clutch release fork has a new bushing installed along with a new bolt and nut. 


Oh, wait a minute, that is a crack in the front cover.


You can see the crack on the outside as well when you know where to look. 

It took a bit but I finally got a new cover and seal.

New seal installed.
 
Re-gap the front cover to the new first motion shaft bearing, good to go. 

Cover installed and release fork and new rubber boot in place. All is well with the transmission now. The fly wheel has been resurfaced and the new clutch is ready as well. Now I just need to finish the engine so I can put this all together.
 

Tuesday, August 11, 2020

Engine Update


The engine is back from the machine shop. The head has new exhaust valve seats, eight new valve guides and a shinny valve job to seal everything up.

Cylinders are bored .020 over for new pistons, there was some scoring from the old piston skirts so it all had to go!

The shop put this together for me... but used the old springs, so now I get to change them out. That's okay, I got to verify the valve job and the smoothness of the new guides.

Last one going on, all good now.

Time to plug those stupid air ports, and make sure they stay plugged with some high strength Loctite.

Prepping for paint.

And the other side too. All cleaned.

Primed.

And now it's orange. Yes that is Chevy orange high temp engine paint, but it's a quarter the price of Blaze and probably better engine paint, so there you have it. Next time we will see what color I choose for the valve cover and oil pan, tune in next week.

Saturday, August 1, 2020

Front Suspension


Time to take apart the front end, first to go is the steering rack.

Then after taking off the brakes and springs, the front cross member is dropped.

Off come the dampers.

And then the A arms and other bits.

I got the media blaster fired up and started cleaning parts, first up, disk brake dust covers.

Next are the upper spring perches and bump stops, then they got the POR-15 treatment, fugetaboutit.

Drivers Seat


Welcome to another episode of This Old Seat Cushion. This particular cushion felt like it had given up long ago.

The new cushion doesn't look that different, but is displays some real bottom support.

That might have been the easiest task in the restoration, so far, but probably in totality. 

Rear Axle Part III


Rear axle back from media blasting, and steel epoxy reapplied.

Old axle droop stop anchor removed and new one welded in place. I think we are ready for paint.

Well, not paint, POR-15, two coats, good to go. Reassembly of brakes forthcoming.