Thursday, April 29, 2021

Now we are rolling

With the painting done, it is time to get this thing rolling again. I started by installing new bushings in the rear springs.

Next some fresh paint. These are not the original springs, they still had the Moss sticker on them, but they were not brand new either, just making them look new again.


Where does all this stuff go? Actually it wasn't too bad putting on the rebound buffers, with a picture to go by.

Here we go, progress. The front cross-member is installed, shocks in place.


Done with the right. Lower A arm installed, pressed up on the new spring, just the hub to go. 
The rear end going in. The springs are just mounting on the front bolts and I'll wheel it under the car on the dolly, bolt up the springs to the axle, then use the jack to lift the diff and springs up to their mounting points. 
Just like that. Then the parking brake goes on. Just a few brackets and it is good. It actually stopped the wheel spinning on the first pull of the brake handle! 
Next, the steering rack has to go in. Fresh seals and boots, and oil, and clamps and ball joints and... that's it, I think. 
Hubs, wheels and steering wheel on, a slight adjustment to the wheel toe.....
And she is out of the garage for the first time in about 10 months, not too bad.
Back in the garage already! This time centered under the I beam for the engine hoist, yeah this is coming along now!


Thursday, April 15, 2021

Paint: Base and Clear


No, I am not painting my car with blood. The car was Blaze, which is a red shade of orange, but when I ordered the BLVC16 color code for painting the engine bay, I didn't like the color, it seemed to have a slight bit of blue in it. Fine for the engine bay but that wasn't what I wanted to see every day so I went to Sherwin Williams automotive paint and picked out the color by eye, comparing it to the hood of the car.


I hung the doors and boot and bonnet lids to ensure I could paint all the gutters and sills on the car easier.

This is what the color looks like on the car, more orange. I like it! This is just base, or color, no clear coat yet. 
Finally here are are with two coats of clear on everything. Everything turned out perfect, except the hood, the part I really wanted to be perfect, it got a huge run. Maybe perfect is a bit overstating things, there are dust nibs to take care of, but not a lot, this is normal. The hood can be corrected too, it will probably take a whole day though. More to come on the final finish. 
 

 Here is a nice shot of the boot lid that shows the depth of shine. This is less than 24 hours from spraying so it is not even set enough to start color sanding or buffing.


Saturday, April 10, 2021

Paint Preperation, and more preperation, and more


Started with the boot lid, it's big, flat and steel. I removed the luggage rack so I welded closed the holes. The filler is just to smooth it out.


This was the side marker, and there was a chip below it so I got that filled while I was in the neighborhood.  
Sanding the transition to the new steel fender bottom. This is block sanding, buy the dura-block set, makes life so much easier, they bed to match the shape of the panel allowing an even curve. 


Both dogleg panels needed the same treatment. The panel is easy, it is getting the door edge even that will make you want to throw things. I probably added more filler eight times and then sanded 98 percent of it off again to fill every little hole and ensure the door opening contour was even, it really just takes practice.

Here is the rear valance panel. I had to ask the experts at MGEXP.com if this was normal? Yep, the bumper covers these ugly welds that come with it from the factory.

After finishing the filler, I hand blocked the whole car with 120 then 320 grit paper.

The new weapon, about $40 on Amazon, comes with three nozzles of various size.

I decide to hang the panels for paint so I didn't have to worry about painting door jams separately and other inconvenient procedures.

Tape and paper.

And finally, primer. Aaaaah, that feels good, such a milestone. The $40 gun worked like a champ, two coats gave great coverage and held up to 600 grit hand sanding before paint. Not yet though, while sanding I of course found about ten little pin holes in the primer from the filler. Time to go back and fix those..

My nemesis, the front valance! I have already spent days, maybe a week total replacing metal, cutting bumper slots, pounding out bends, filling and sanding, and when I the primer dried, it still looked like crap. I changed tactics, rock guard.

Three good layers of rock guard hides most of the irregularities and is common for a lower valance. The bumper hides most of this anyway. My choices were limited here. Everyone reports that replacement panels fit badly, so this really was the best option. The 600 grit primer sanding is done, just need to clean it off and shoot base and clear, maybe tomorrow or the next day.

Monday, March 8, 2021

Refreshing Armstrong Shocks

I have been waiting months to restore these Armstrong shocks, mostly because I was unsure which oil to buy. I did not know how much oil I would need to flush and fill them, and I know the recommended oils are quite expensive. I finally made a decision and got started by draining the oil from the rear shocks as shown.
Moss does not show a replacement gasket for the rear shock top cover, so I need to clean these up very thoroughly so that a liquid gasket would work. I sanded down both surfaces with 600 grit.
I went through several steps of flushing, covered in more detail below, then refilled with fresh ISO 68 hydraulic oil.
Then both surfaces got a thin coat of 3M black super weatherstrip and gasket adhesive.
I mounted the shock on the side of my work bench to keep it level while the adhesive cured and then check it the next day for leakage, all good. Then I was able to move on to the bleeding any remaining air from the shock. This is essentially the same process as show below with the front shocks.
Moving on to the front shocks, I drained the old oil, then mounted the shock to the workbench so I could actuate the lever to help rinse out the old oil. This was done with the valve removed and the valve plug reinstalled so that the oil would circulate easily. I cycled the arm 100 times and then drained and refilled. The front shocks were apparently serviced more recently so I only had to do one flush and fill. The rear shocks were much dirtier in comparison and required three flushes and a final fill.
Holding the shock level for final fill with new oil.
The front shock gaskets were in good shape and were reused.
This is an example of the flush phase, you can see the oil has, what looks like, a lot of aluminum in it from years of use, this is the first flush, not the original oil.
Here we have the valve, all good, just replaced the large O ring, shown at left.
After filling and reinstalling the top cap, the shock is bled by topping off the valve area, and then cycling the arm a couple of times, repeat until no more bubbles come out and the level stays pretty constant through the cycle, as shown above. Then you put the valve back in, and make a big mess.
I used a cup under the valve to catch most of the oil that overflowed when the valve went in.
I started with a gallon, four quarts of oil. After flushing the rears three times each and filling and one flush for the fronts then fill; this consumed only 1.5 quarts as you can see in the picture.
Sorry the picture is not better. I used Mag 1 Hydraulic Oil, AW ISO 68 rated. I got a gallon of it on Amazon.com for $23.64. So, not cheap, but still less than motorcycle fork oil. I will have to wait for a test drive to see how it performs, but ISO 68 is the right stuff, so fingers crossed.
Finally, some paint, silver for the rears, black for the front, just because.

Monday, March 1, 2021

More Miscellaneous: hand brake, fuel tank, light delete, clutch master, wires and tubes


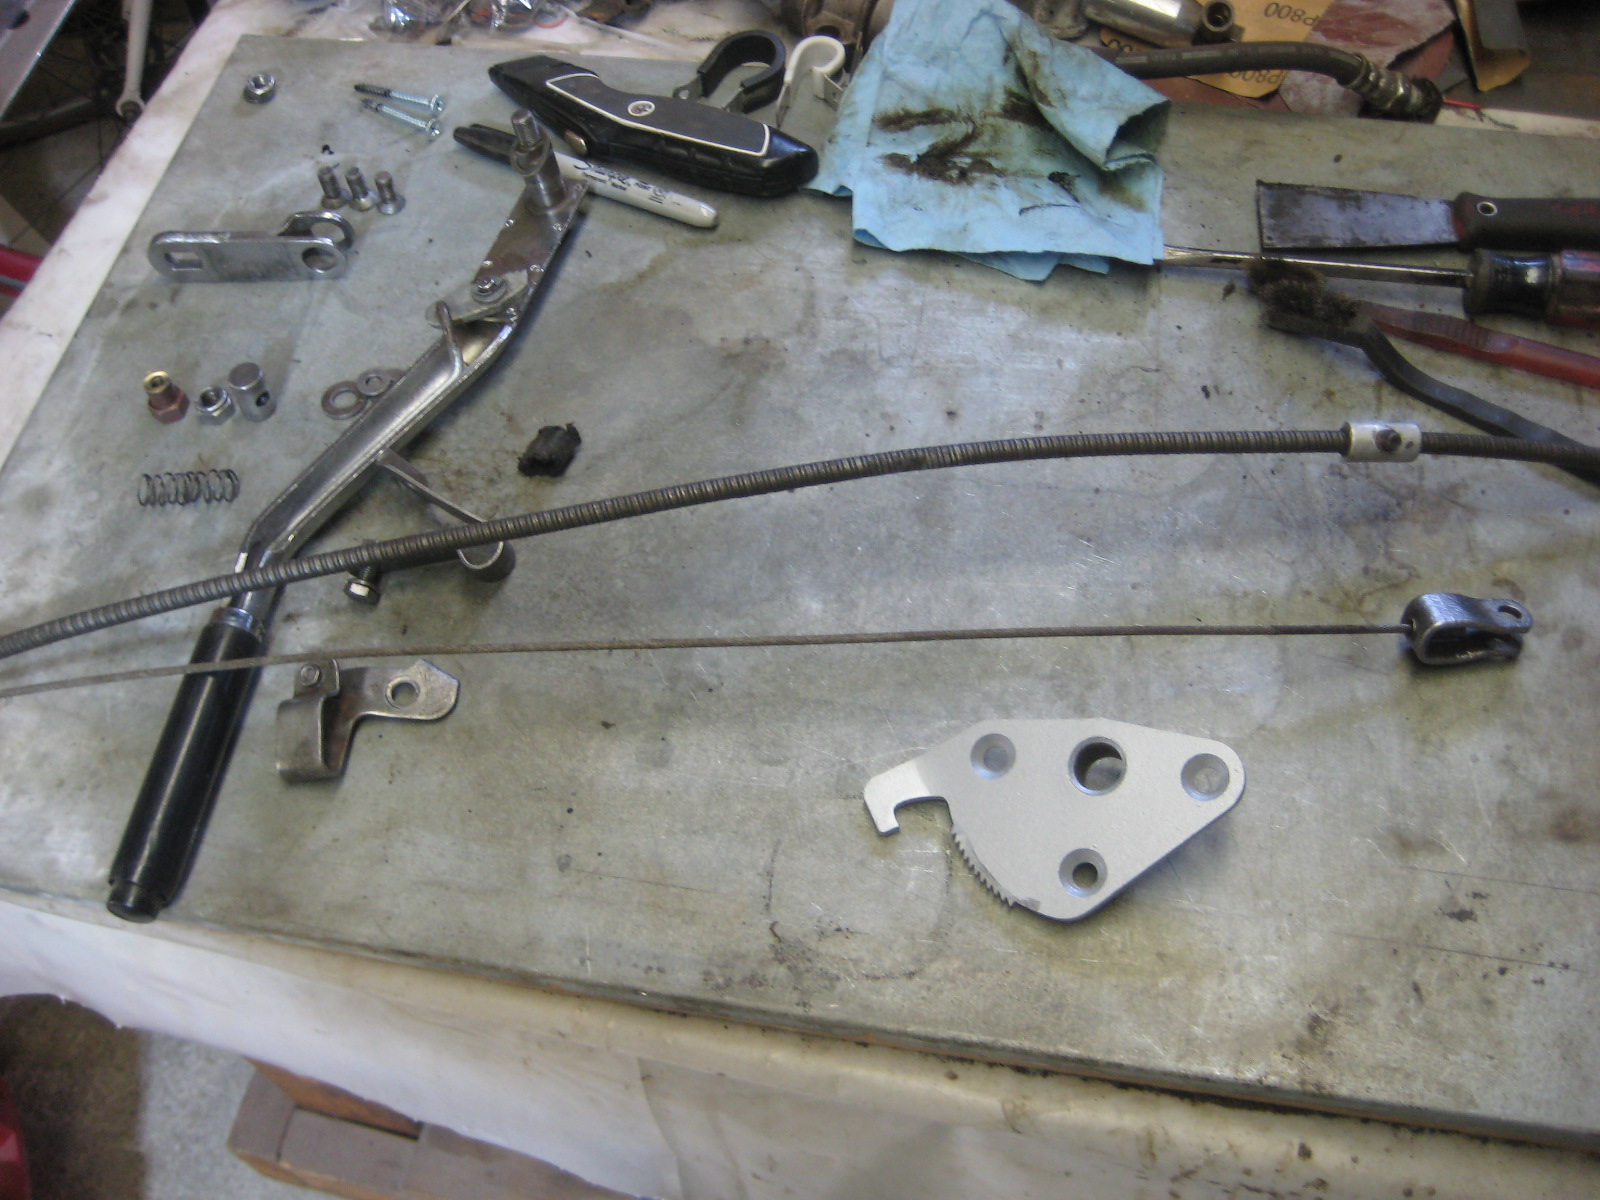
This week has been more of the same, tying up loose ends. I finally got around to cleaning up the hand brake cable and gear. It is back on the car.

I didn't want to drop the fuel tank, but I noticed a little corrosion around the edge.

Glad I did, but it really wasn't too bad, but now we know. The tank itself is not original and is in very good shape.

Paint it black, and put it back.

I finally felt like doing some more welding and got rid of the side markers on the rear.

I was missing the gasket/seal between the heater and the firewall. Sprayed with adhesive, getting tacky, then installed, awesome!

Test fitting the charcoal canister, looks good, fits good. This is pretty much the entire emissions system on the car.

I realized I never pulled apart the clutch master cylinder. It looks good but I went ahead and ordered new seals anyway.

I tackled one of my nightmare tasks, putting the tubes and wires back into the under car loom, it wasn't quite as bad as I feared, but it was a pain.

Fuel tank went back on, just a couple touch ups required on the tank itself, not just a shameless plug for my home built BELM, that is battery electric lawn mower. Now on to the task I have really been putting off, the body work. Now I am doing the final fitting of the fenders so I know they will bolt right up with the new paint applied. It might be a month before I have much to show, but we shall see.